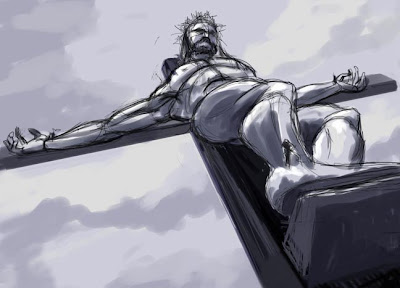
1.
This illustration was sketched out in Digital Airbrush for the rough line. I then wash over it several times (drying between washes) with a cool gray in Digital Watercolor - using the simple water brush. I'm using Corel Painter 11
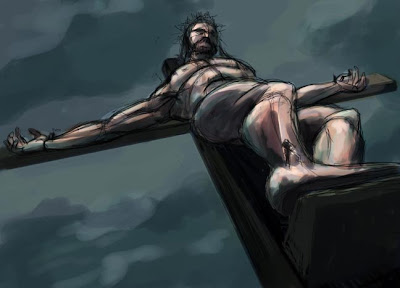
2.
This is the first color pass using Digital watercolor. My goal here is to just glaze straight color over the value study. I'm still keeping things very loose at this point.
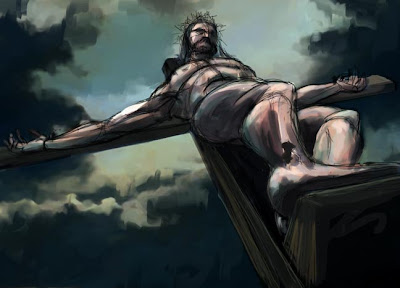
3.
Now is the time to start creating mood with further development of value and hue.
Warm side vs cool side & light side vs dark side - keeping it more saturated in the mid tones.
href="https://blogger.googleusercontent.com/img/b/R29vZ2xl/AVvXsEgWojutrMptrzm9r9RNvSfCBbSSGKZw-y3LcFsCTfbH_Om1HbKcYbOxMzr8SMWErXD05KnqhsizhQhhUeRLAMH0y1uWcsLyEZqQIUn_OlvF4Xewrvb6KnjGaa2pbZUqwQv0cIdXzw/s1600-h/CrucifictionV04.jpg">
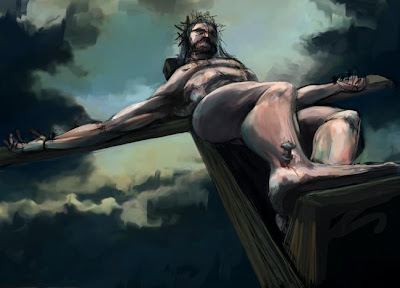
4.
Another pass at color. This is when I start using the opaque brushes - Acrylic (wet acrylic) Airbrush (digital airbrush) Blenders (Just add water) and more
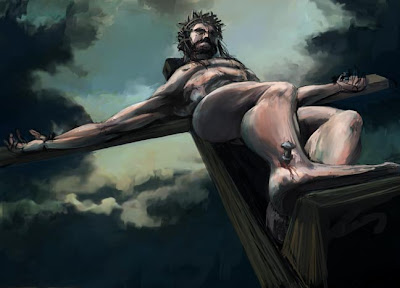
5.
This is where I start to model the form just a bit more. Still very general at this stage. At this point I'm about 40 minutes into the illustration. It's important for me to set the mood and composition quickly; that way I haven't waisted time beating up a painting that is poorly composed. This is also when I decide whether a painting is worth continuing. We'll keep going on this one.


1 comment:
amazing prespective, great job
Post a Comment